In September 2013, Frances Perkins demonstrated a professional looking cut and sew neckline which could be used when dividing the front and/or back of a garment was tricky to do for instance if there was a complicated pattern.
A PDF of the detailed instructions can be downloaded here Neckband to enclose an edge
The photos below illustrate some of the stages of construction.
They only show the front half of a garment so that it is easy to see each stage. For a full garment, the shoulder seam on one side will need sewing up before the number of stitches for the band is decided. Final finishing off will also be needed.
|
|
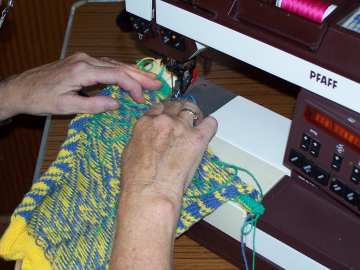
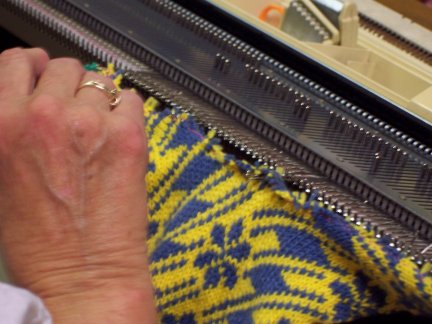
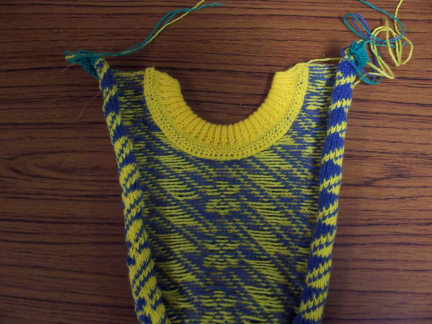
Sewing around the neckline before cutting out. |
|
|
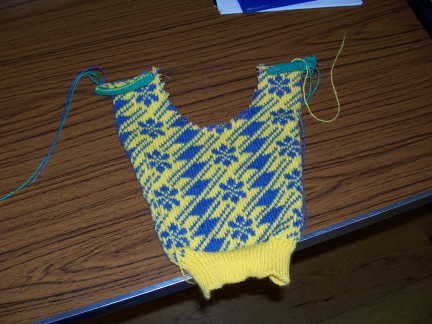
Neckline cut out, edges do not fray as there are two lines of narrow zigzag machine sewing to stbalize the edge. |
|
|
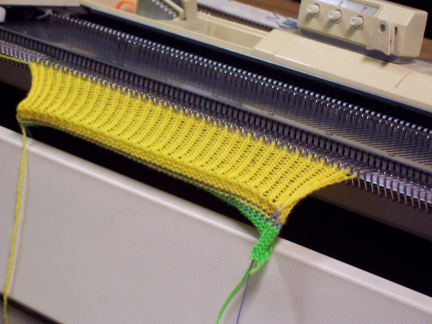
Neckband created separately, here is is nearly complete.A waste yarn caste on followed by some stocking stitch rows, then a ribbing section, this is then transferred to main bed again, before picking up from the start of the ribbing. |
|
|
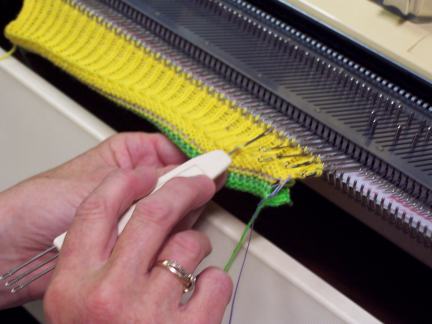
Picking up the edge of the ribbing to create double section. This is followed by some more rows of stocking stitch to ccreate the flap that will help enclose the raw neck edge. |
| photo
|
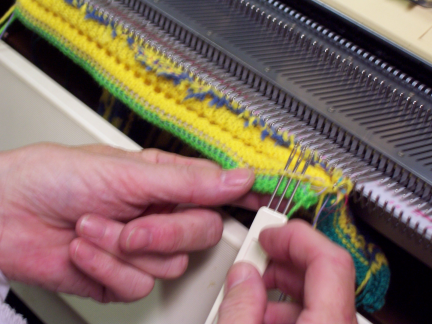
Picking up edge of neck before adding band. |
|
|
Picking up the neckband final edge. |
|
|
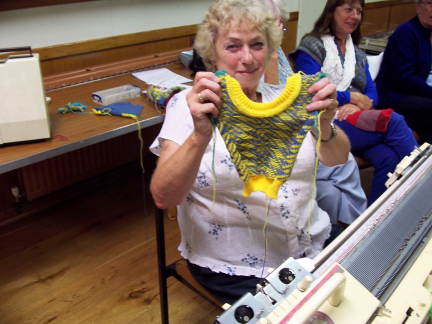
Completed band – wrong side. |
|
|
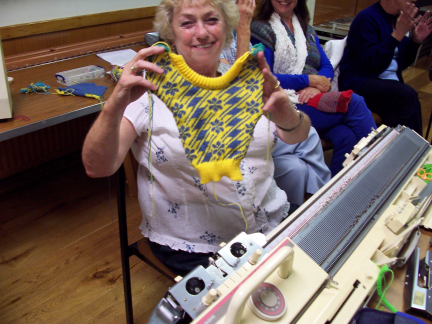
Finished – right side |
photo 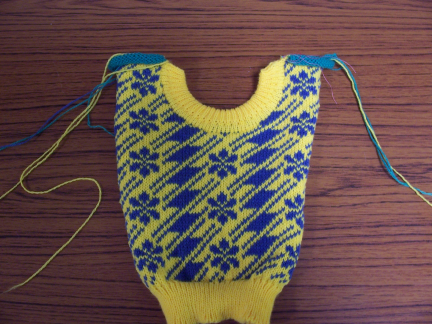 |
Completed Band on right side |
|
|
Close up of finished wrong side. Flap on neckline encloses edge |