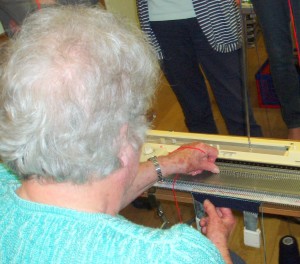
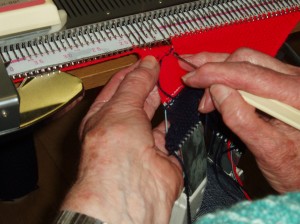
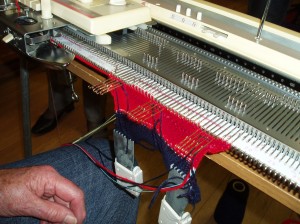
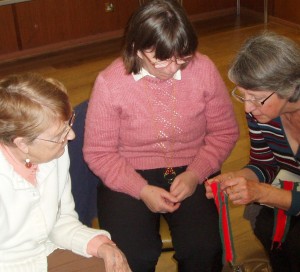
This was a club night where members of the club gave a demonstration.
Our Chairman Kathy welcomed Sue Potter, the new Surrey regional officer from the Guild of Machine Knitters, who was visiting us for the first time.
We also extended a welcome to two more guests who are interested in machine knitting.
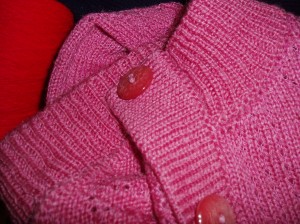
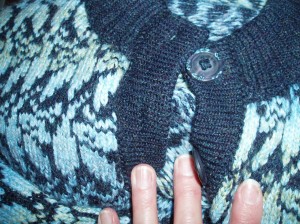
The first demonstration was by Brenda who showed us how she does button/button hole bands on a cardigan.
he gave us a rule of thumb for the band length – as a starting point then described various types of button bands – edges picot, plain, tucked to give a scalloped effect, single or double (better).
The tensions relate to the garment tension – in general the button band should be T-1 and the fold row T+2.
The final row after picking up the garment edge on machine should be the same tension as the garment.
Choose the number of rows to be even so buttonhole is central (excluding the turning row) 8 or 16 for example as this ensures top button in particular is central as it would show up more.
A quick tip: you can put button small holes on the join between the band and the garment, done when picked up so no separate button hole required – easy to do but garment needs to be V neck or top button will be offset to one side! It is suitable for narrow bands only.
In general, the button band should run up and over the neckband for more slimming look.
Older styles of garment were the opposite, finishing below neckband.
Generally bands are stocking stitch even if other bands on the garment are ribbed, a ribbed band it can cause a problem with tension matching.
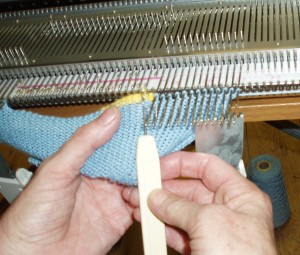
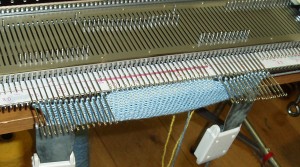
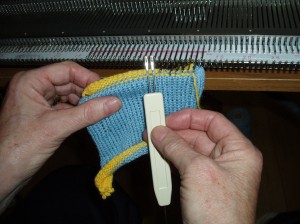
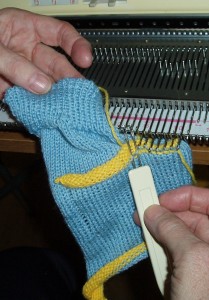
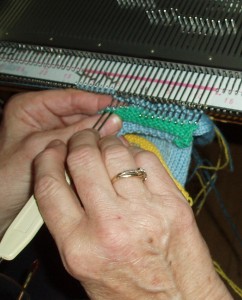
Frances then showed us how to put a pocket in a cardigan or jumper. This method needs no sewing up apart from catching in the pocket top after the rest is completed. It makes a neat and flat pocket with your own choice of trims at the top.
Full Instructions will be available later.
Last but not least, the show and tell
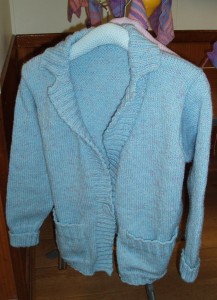
Gill, one of our newest members brought in a cardigan she had made on her recently acquired Zippy 90, a plastic bed chunky with only 90 needles.
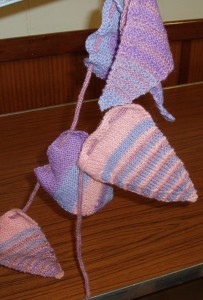
Gillian had made some bunting and brought that along for us to see.
