This month we were treated to a really interesting and useful session by April on Cut and Sew techniques. Many of us have not used this technique so April gave us a demonstration of both sewing up a garment on the sewing machine and creating a cut and sew neckline. Later she showed us how to use a garter bar to turn the work to give a neat finish.
|
|
For cut and sew both machines are needed – a simple sewing machine that does straight stitch and zig-zag is adequate. |
|
|
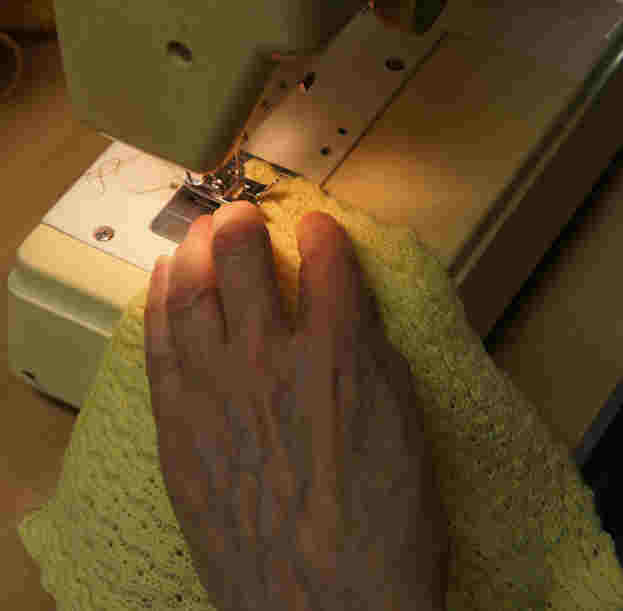
This garment was made on the knitting machine in the normal way, then sewn up on the sewing machine. It gives a neat finish. |
|
|
A major use for cut and sew is to make a neckline on the garment front and back that have been knitted as usual but the neckline not shaped on the machine.The garment pieces should be washed / steamed or pressed according to the type of yarn used, before the neckline is created.Making a neckline on a complex pattern it is easier to cut and sew – no holding position and repositioning the punch card needed here!
First use a paper or cardboard template to mark the position of the neckline, tack around this with large stitches in a contrasting colour. |
|
|
Then machine around twice – once with a large straight stitch, then again on top of that with a narrow zigzag.The neck can then be cut out and a neckband applied using the sewing machine.Before cutting, ensure the stitching has no gaps and cut on the neck side of the stitching to prevent unravelling.
|
|
|
To tack seams together securely, a binding wire can be used. Bind over the edge like an overcast stitch. |
|
|
Sewing next to the binding wire needs to be done carefully to avoid breaking the machine needle on the wire. |


